
[B]Veyron
-
Posts
258 -
Joined
-
Last visited
Content Type
Profiles
Downloads
Forums
Events
Gallery
Everything posted by [B]Veyron
-
and here's what I've done with the "mesh" split it so it'll fit together like a puzzle. likely I will split the assets too (giant tv, TVs, carpet, spikes, and side doors/windows? whatever they are I still have yet to do as of now) after that I think the interior will be done will just need a re-skin and then I will be moving on with the nuke silo in the back. should be easier now that I've split it up.

-
here's random pics/


-
snippet of some assets. TVs, landing pad, Giant TV, red carpet in the center isle, and spike display/ring. I didn't want to do cones for the spikes just kinda because so I left it at small cylinder and pyramids for the display. One thing I realized when I inserted the temple into UDK was I was able to shoot it and place c4 on it but could still walk through it as if it has collision but it doesn't.
-
yes I see what you mean. and that would benefit too. damn keep piling this work load. It's ok though I'm glad a good majority think it's phenom. I'll keep the pics coming as progress continues some are wallpaper worthy!
-
I'm also thinking the interior is the same as the exterior texture all around. Where I was basing my interior off the other interior rendered version when in reality the texture is the same. Also the size is the "true" size or rather approx. but could be shortened to a temple for ants. OR we can make the temple the center of attention in a map or gamemode like a few people have said.
-
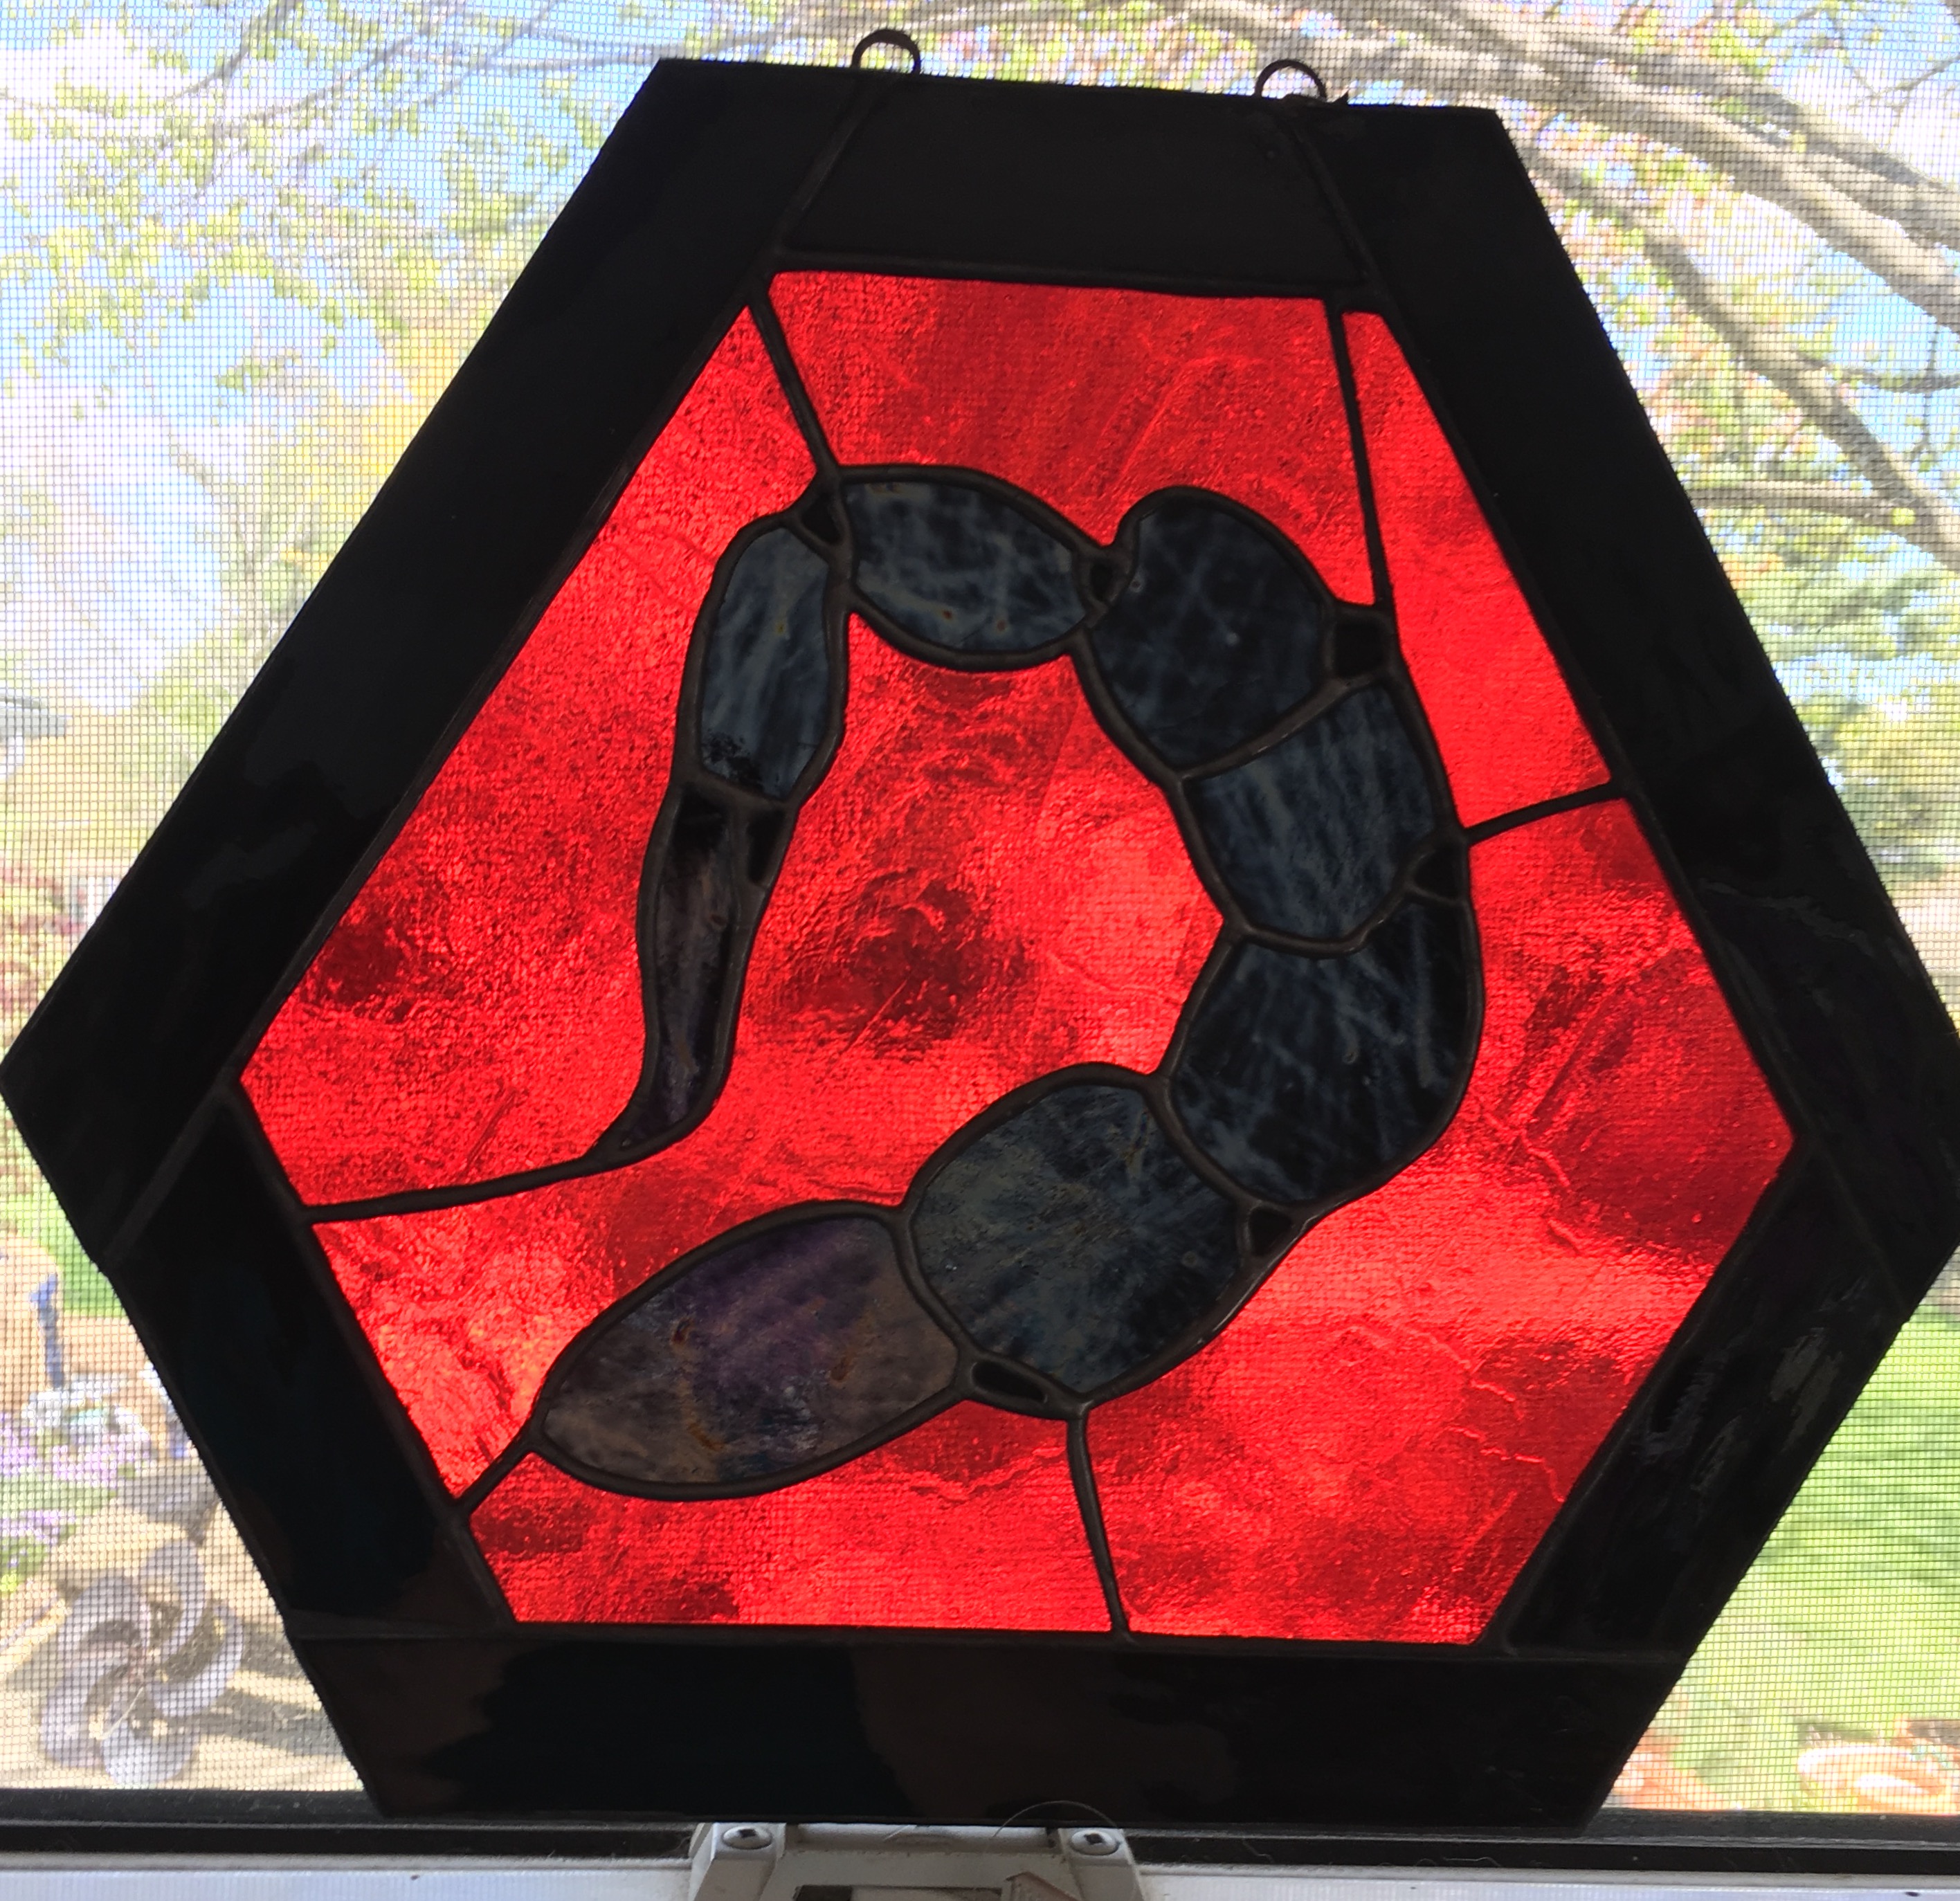
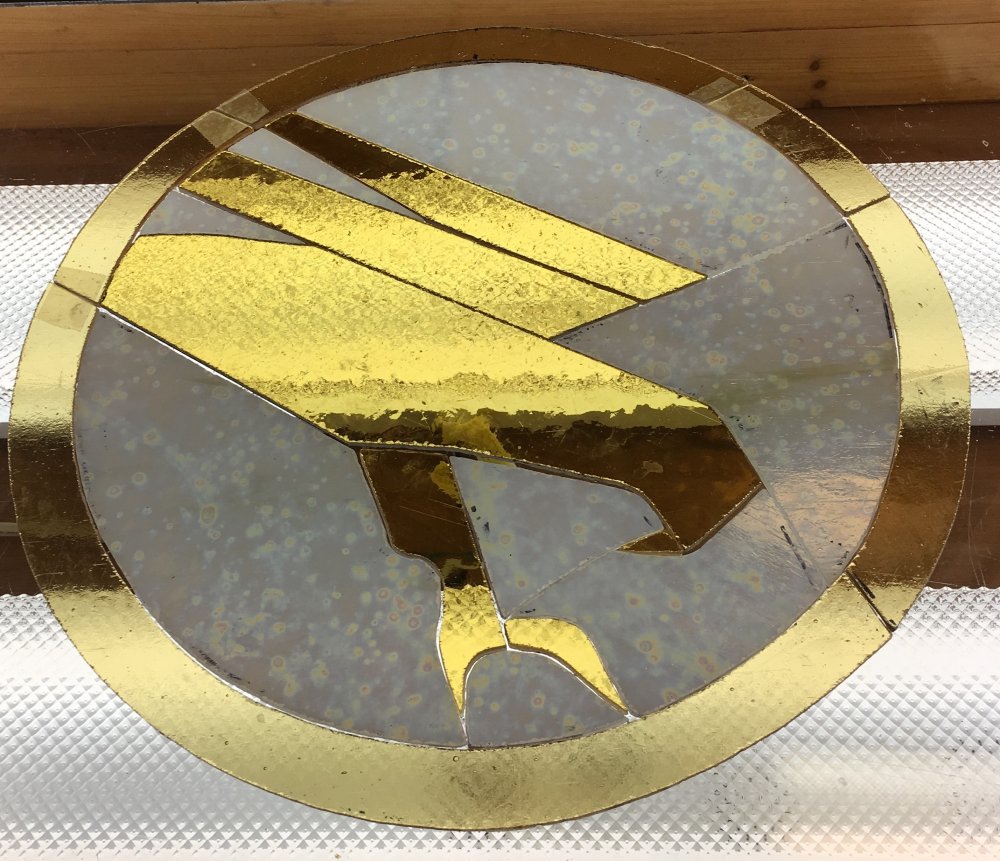
Hey guys didn't know where to put this but sometime ago I contacted someone I met at my work and they contacted somebody who knows someone who knows someone who knows some who knows someone who knows somebody.. and I got them to do this for me for 200$ I haven't received the pieces yet as the GDI is still WIP. but they are phenomenal. what do you think? which one is your favourite?

-
the way I've done it I skinned it in maya and then transferred everything over into UDK so there's no unwrapping done bc I'm having a hard time following the tuts. I think it seems like i'll have to extract the texture file and then re-apply it in maya? and I know. and I'm the only one who gets to play with it hehehe
-
Well I'll make a suggestion and say keep working on it when you can before somebody else steals the spotlight! looks like you know what you're doing and what you want out of the project. good luck and good work.
-
where are you with this currently?
-
It looks primitive imo in comparison to the other buildings on how they're made? but i'm not going to tweak this much further in regards to the formal shape of the building but I'll continue on with it. I'll be happy to post the static mesh as it is and people can mess around with it or w/e.
-
some up close texture shots. Side, Front, Back, Windows. And there is a window sill just on the outside you can kinda see it. As for separate meshes how can I connect the two together when I need to? and I'm unsure as to how I'm going to do such a thing because of the method/process I chose to take on such a project.
-
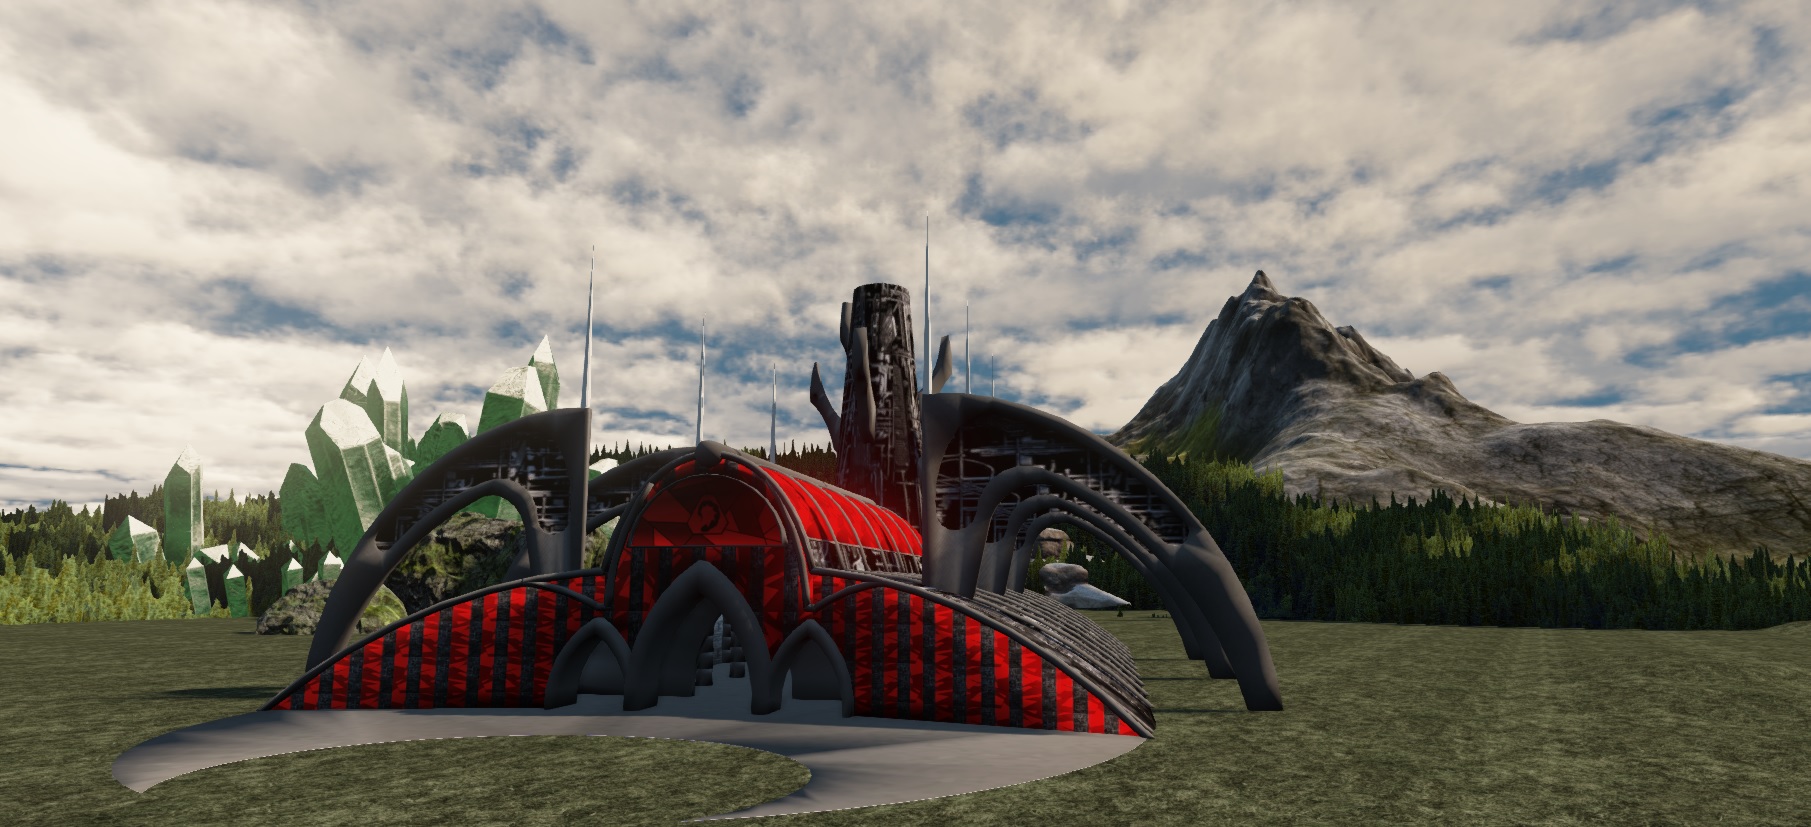
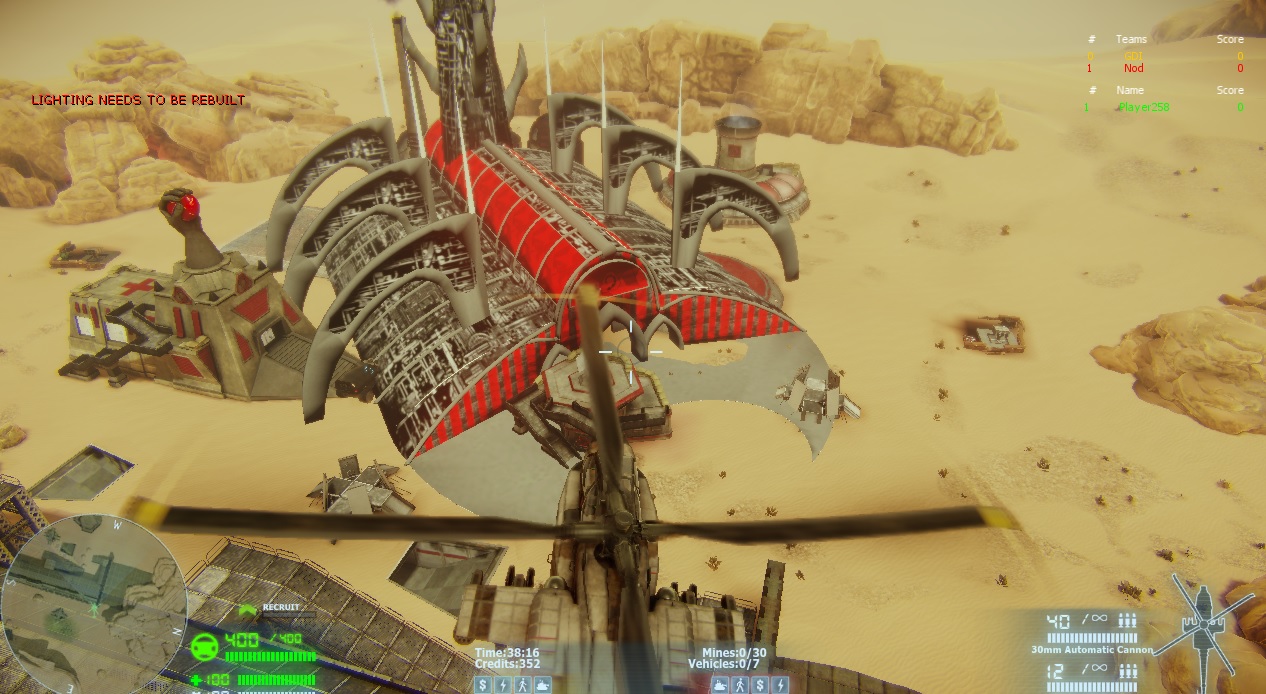
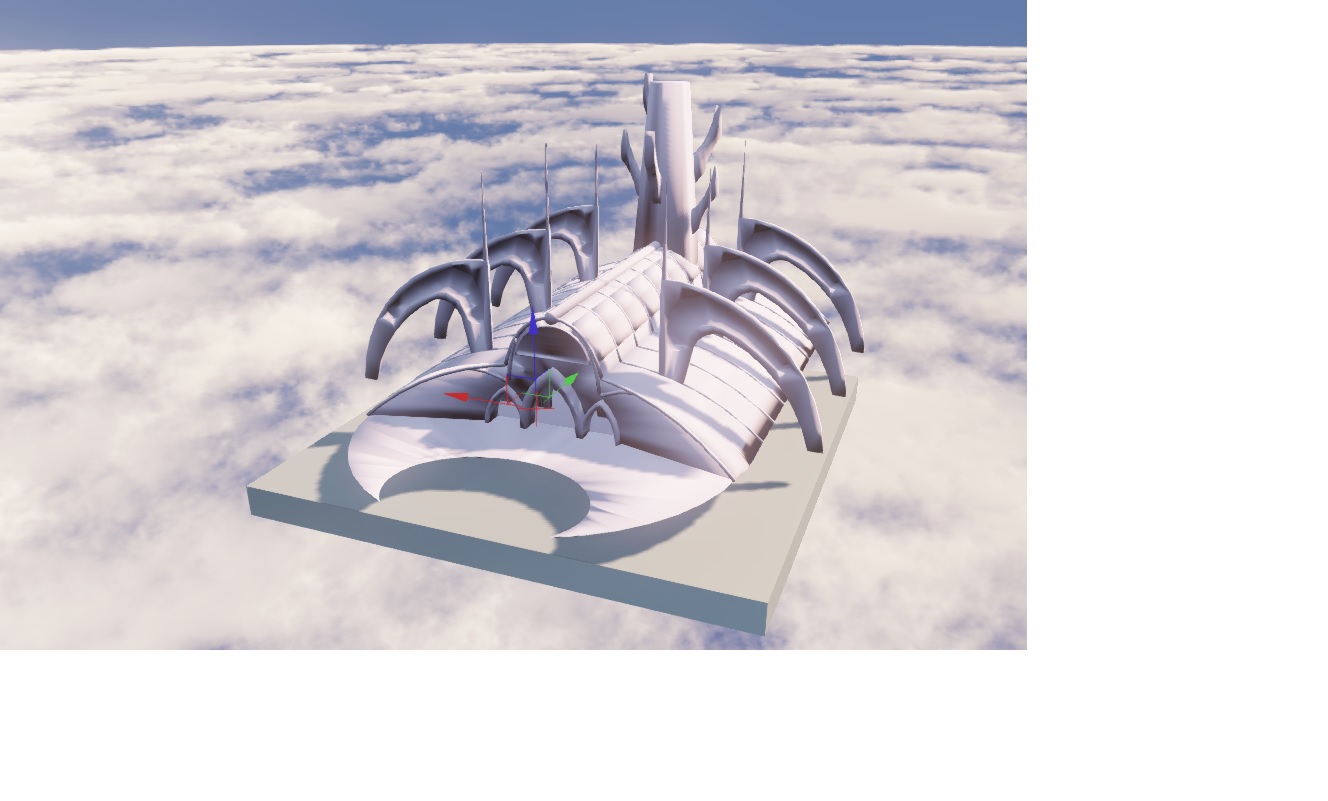
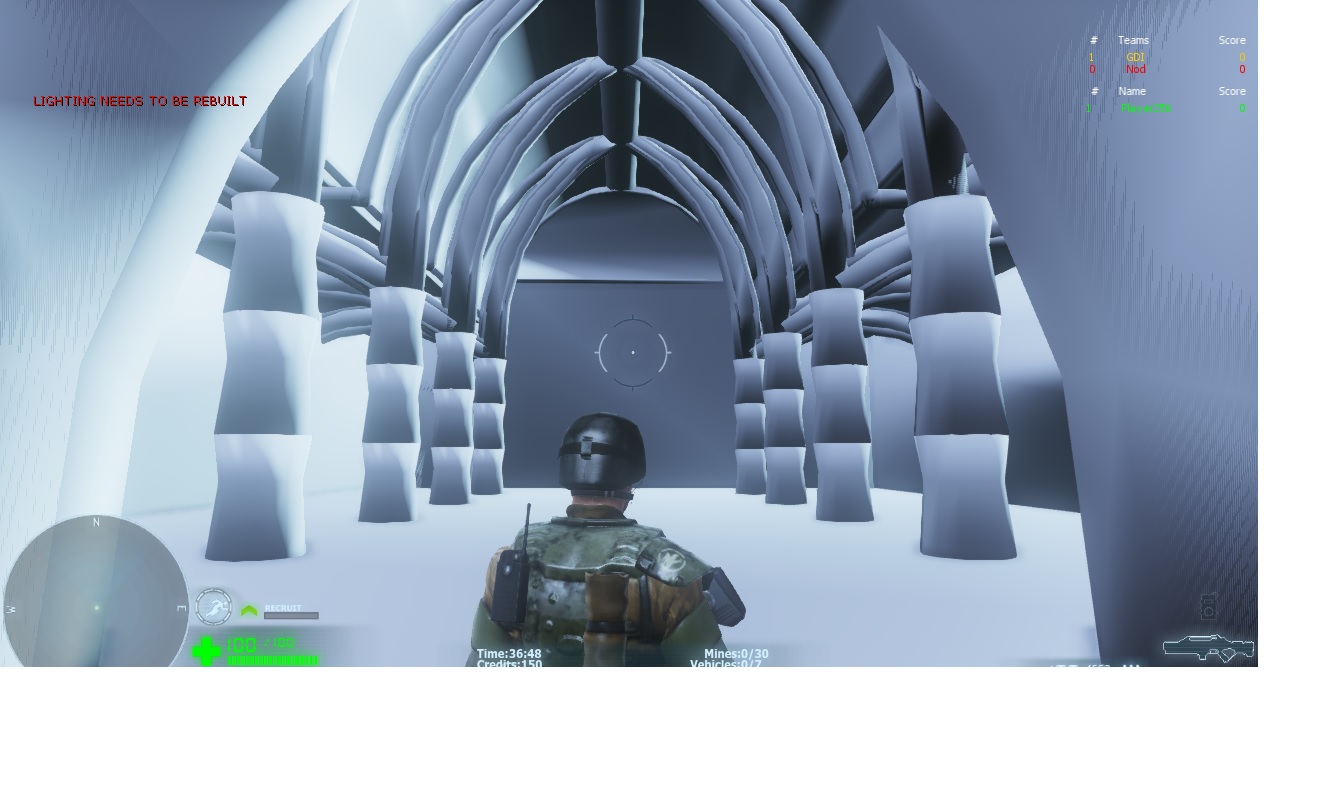
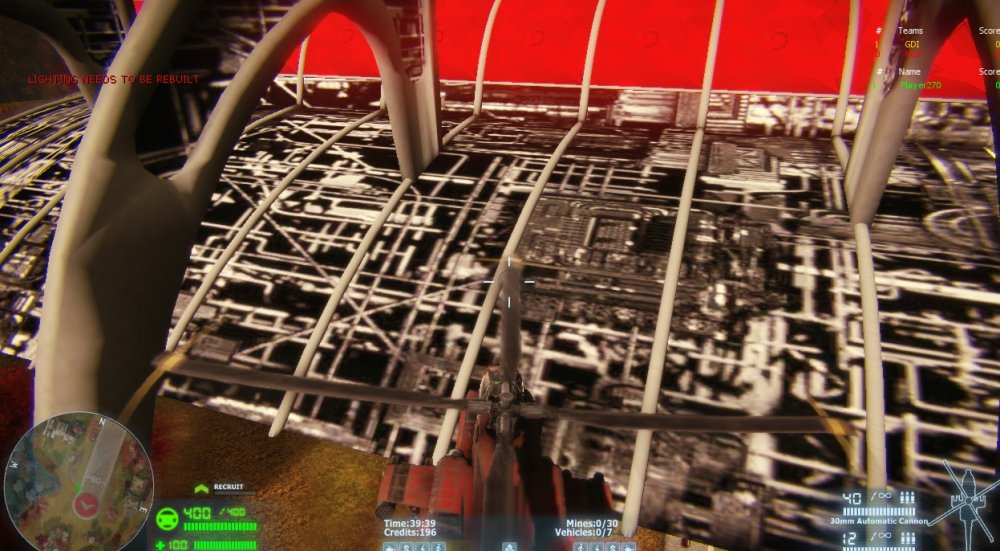
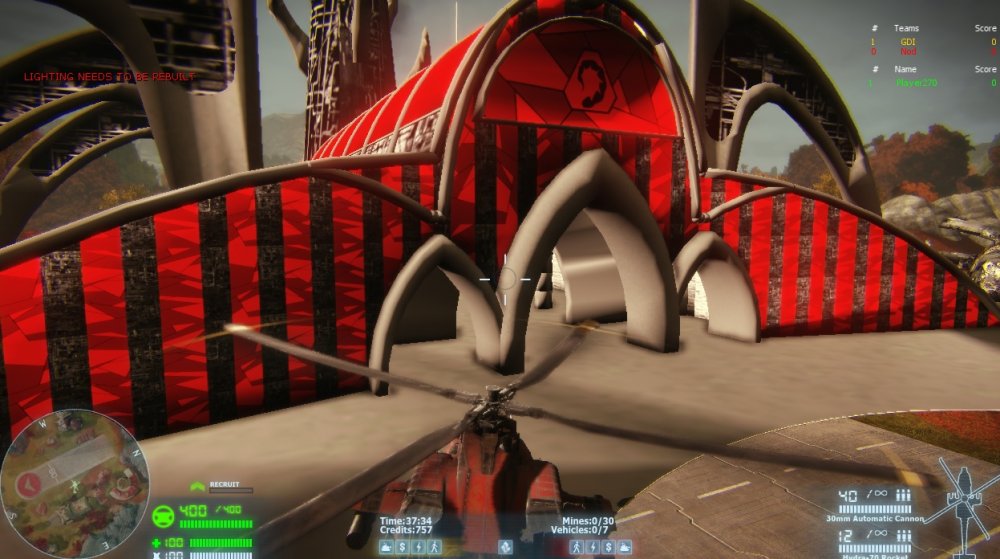
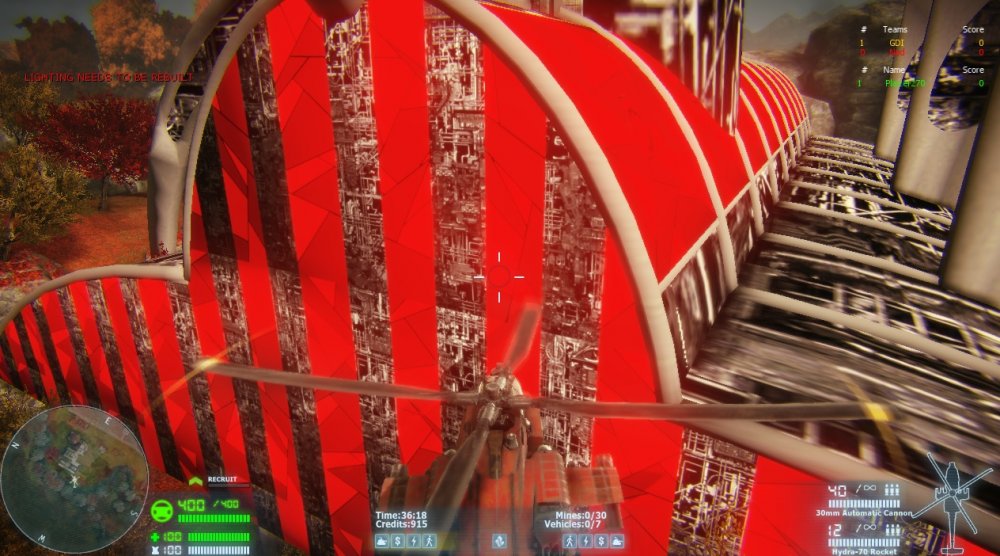
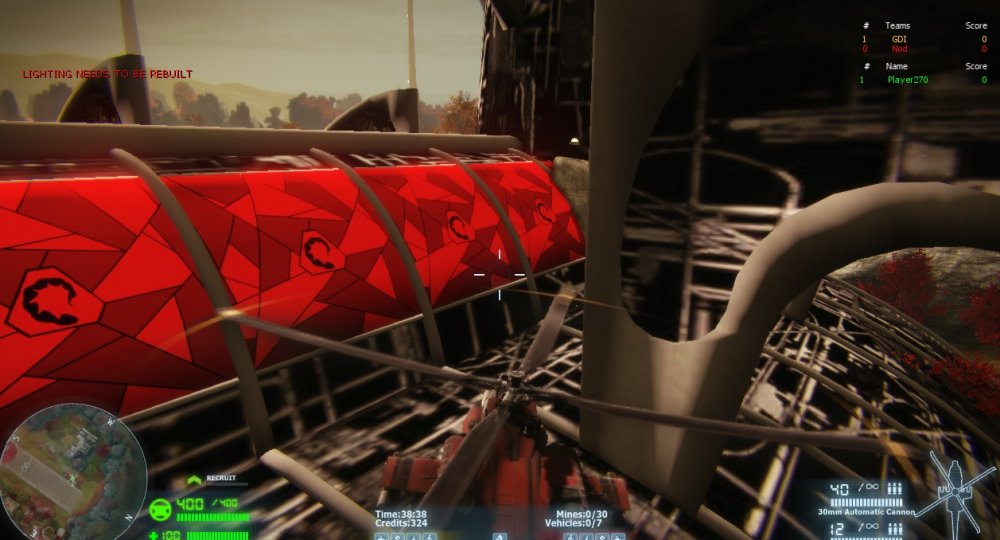
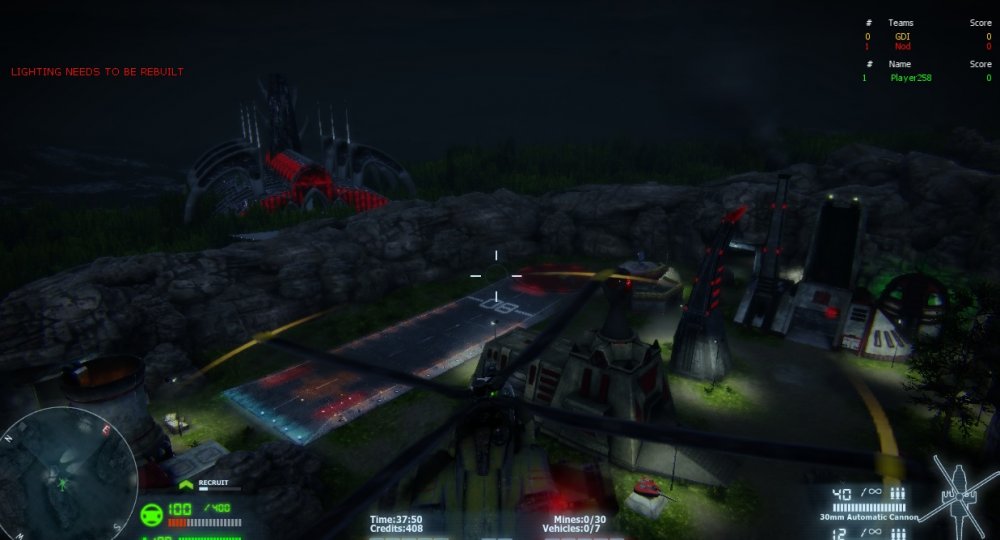
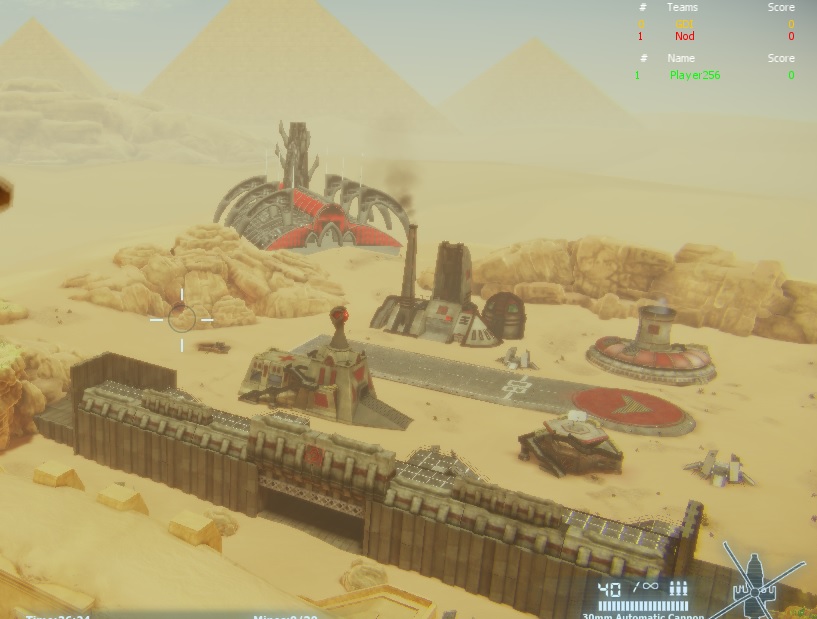
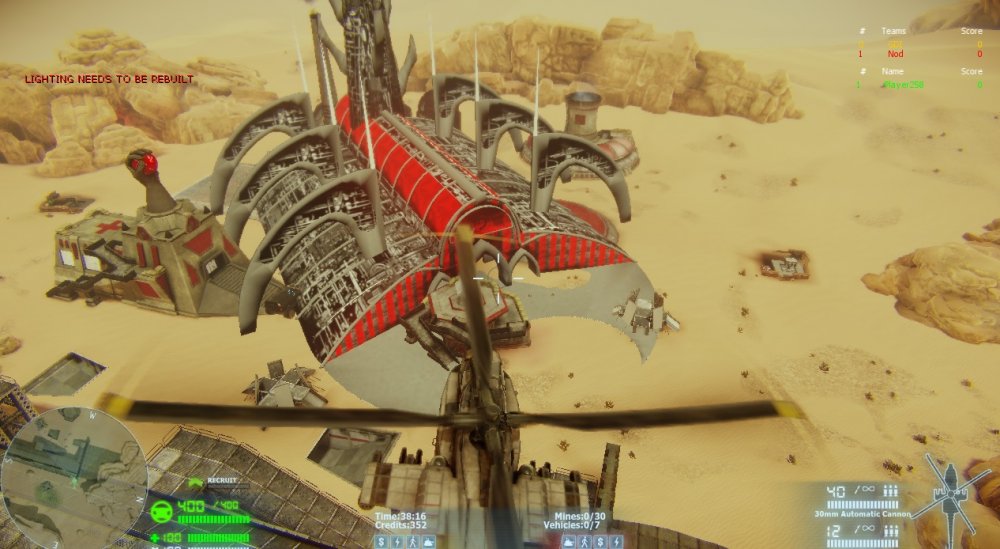
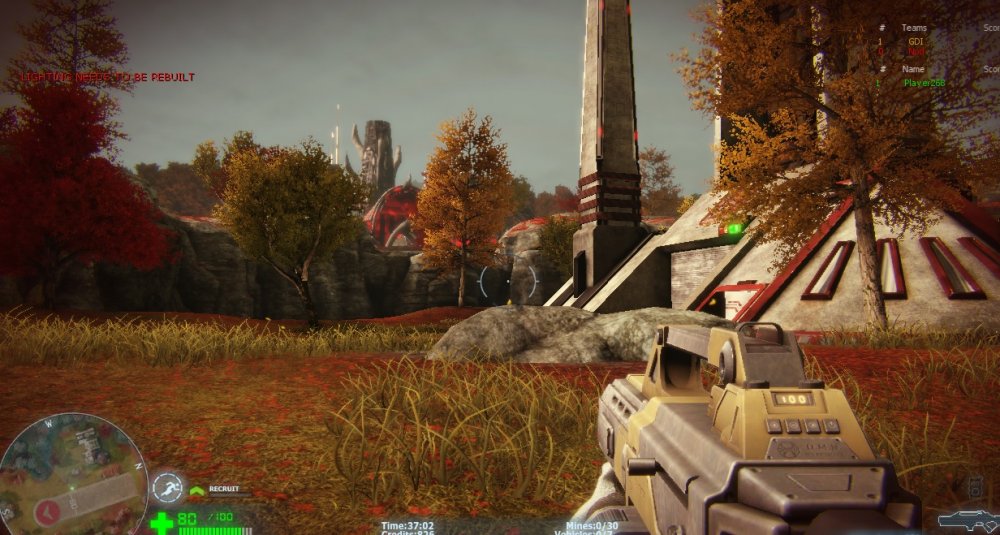
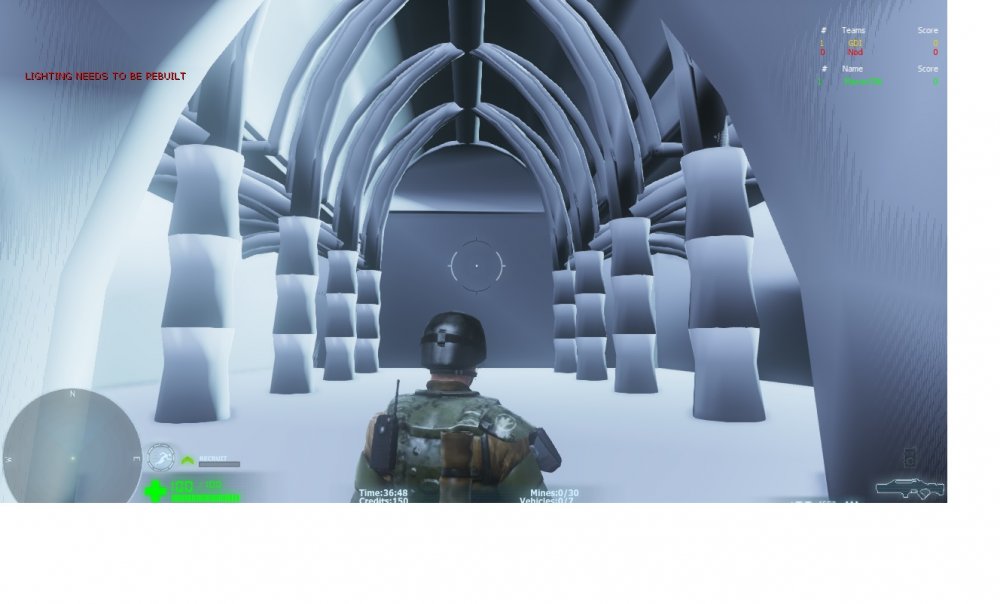
Field shot. Just for show (this model I at 25k verts and 38k tris?) this one I forgot to texture some stuffWalls flying shot. just for show. inside starting night map. w/ mammy here's a sneak peek of what is behind the back wall. a bunch of unused geometry! but for the future I had in mind of this area one can access and walk around in and visually see the missile. size comparison with all the other buildings on walls. right smack in the middle of air. xmountain shot. at this point I haven't gone through GIMP yet but I re-did the stained glass looks better imo. but I am still getting the stretch marks I am using the same method for texturing as before however..


-
I am thinking of making versions of this if it's possible. Starting with the static mesh for display and then move onto a production building for nukes and at the end of it I was thinking of the nuke silo(in-accessible atm) and the other floors (IE: netrunners, mutant lab) and ability to launch a missile.
-
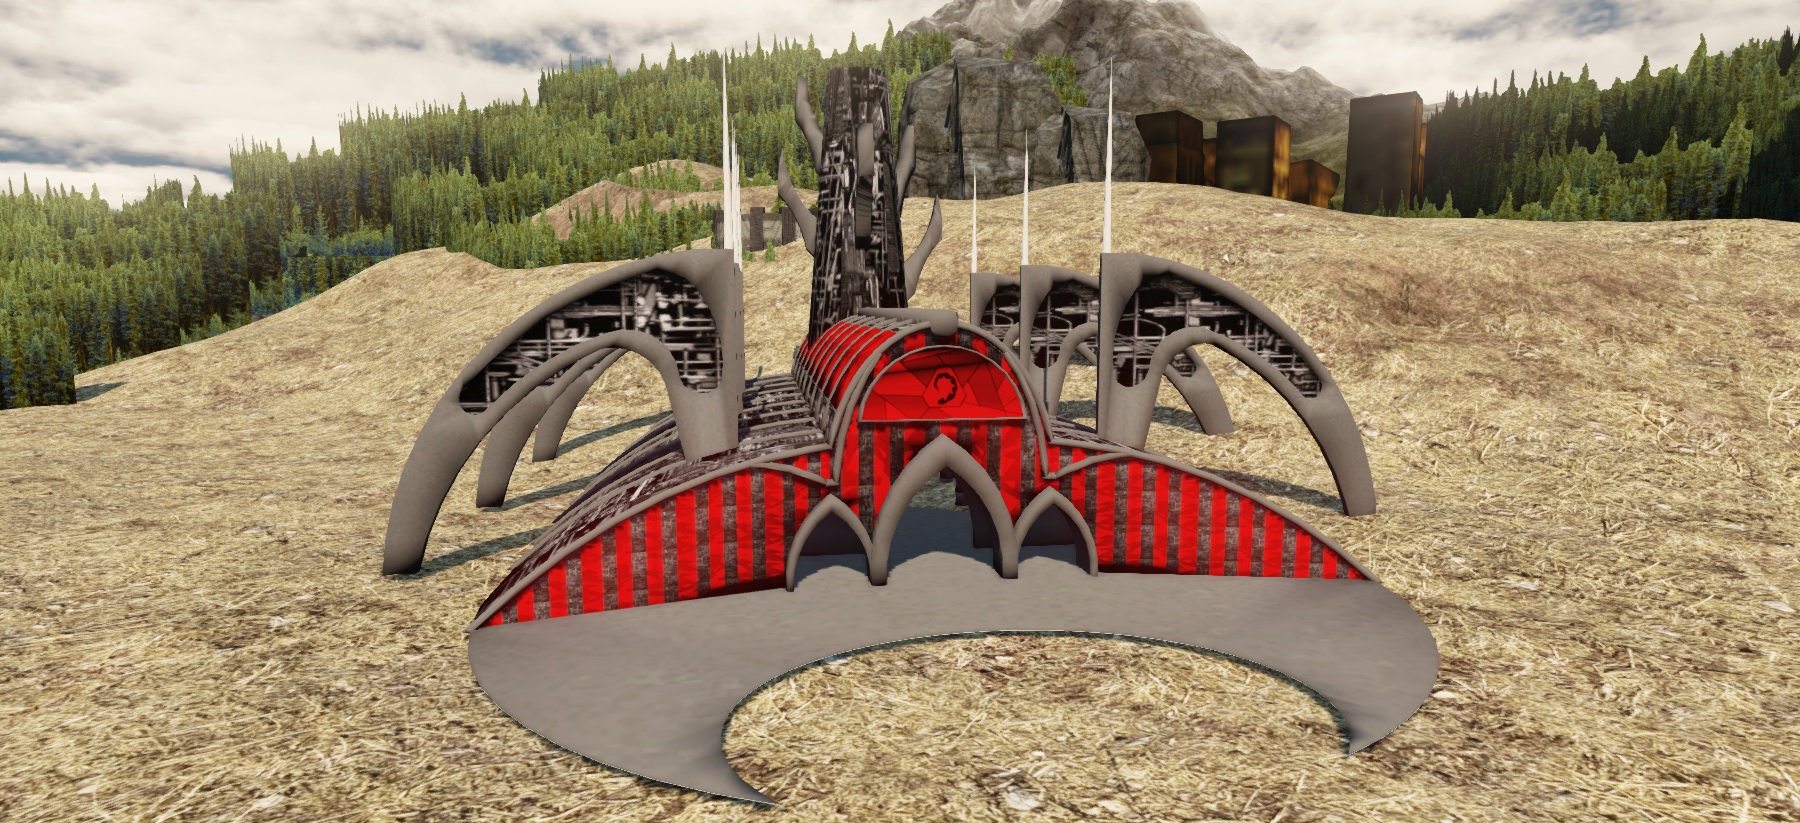
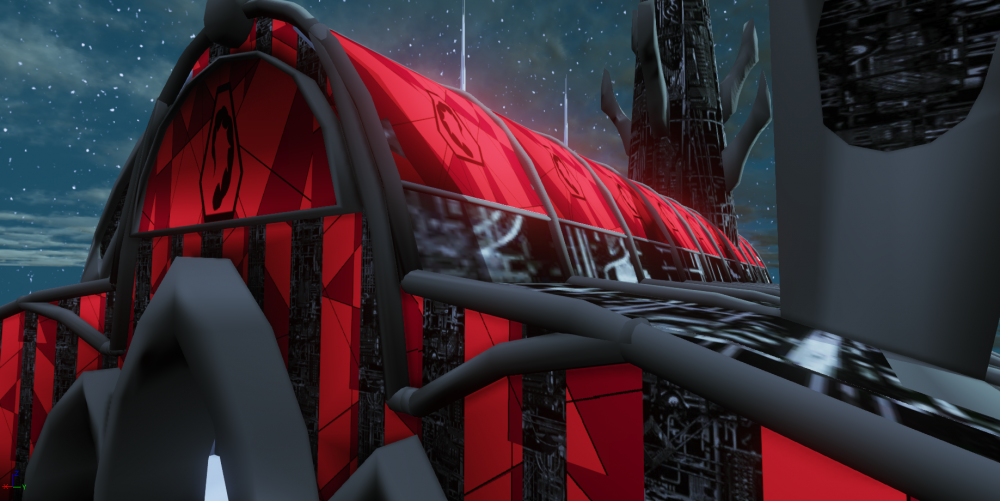
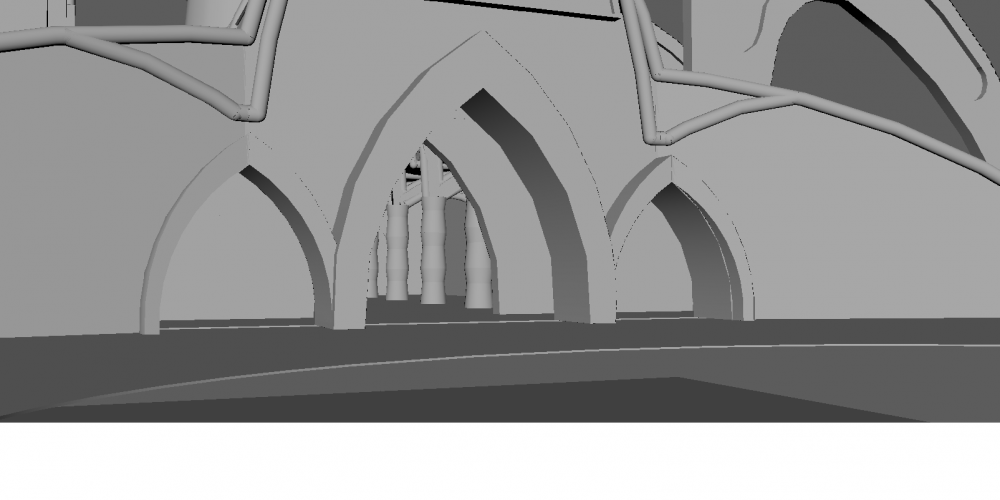
close up of the temple. This model I used and rendered came up to 13k verts and 24k tris. Notice how the geometry begins to stick out at random places due to the nature of the geometry used. Also I am getting that smudge marks on my archways from those high vert points? how can I solve that issue? also will redo the windows the sizing I chose stretched it out as you can see but you get an idea of what it will look like in game. Also going to redo the front texture. What kind of model is acceptable here? lower/higher verts? higher verts will be more smoother with little to no geometry sticking out This was textured in maya and then everything imported over

-
@j0g32 I only ask because I don't have access to photoshop (weird eh? access to CAD but no PS..) so paint and autodesk sketchbook express is the only for me.
-
I'd like to have that same effect for transparency in the windows. I'd use photoshop for this right?
-
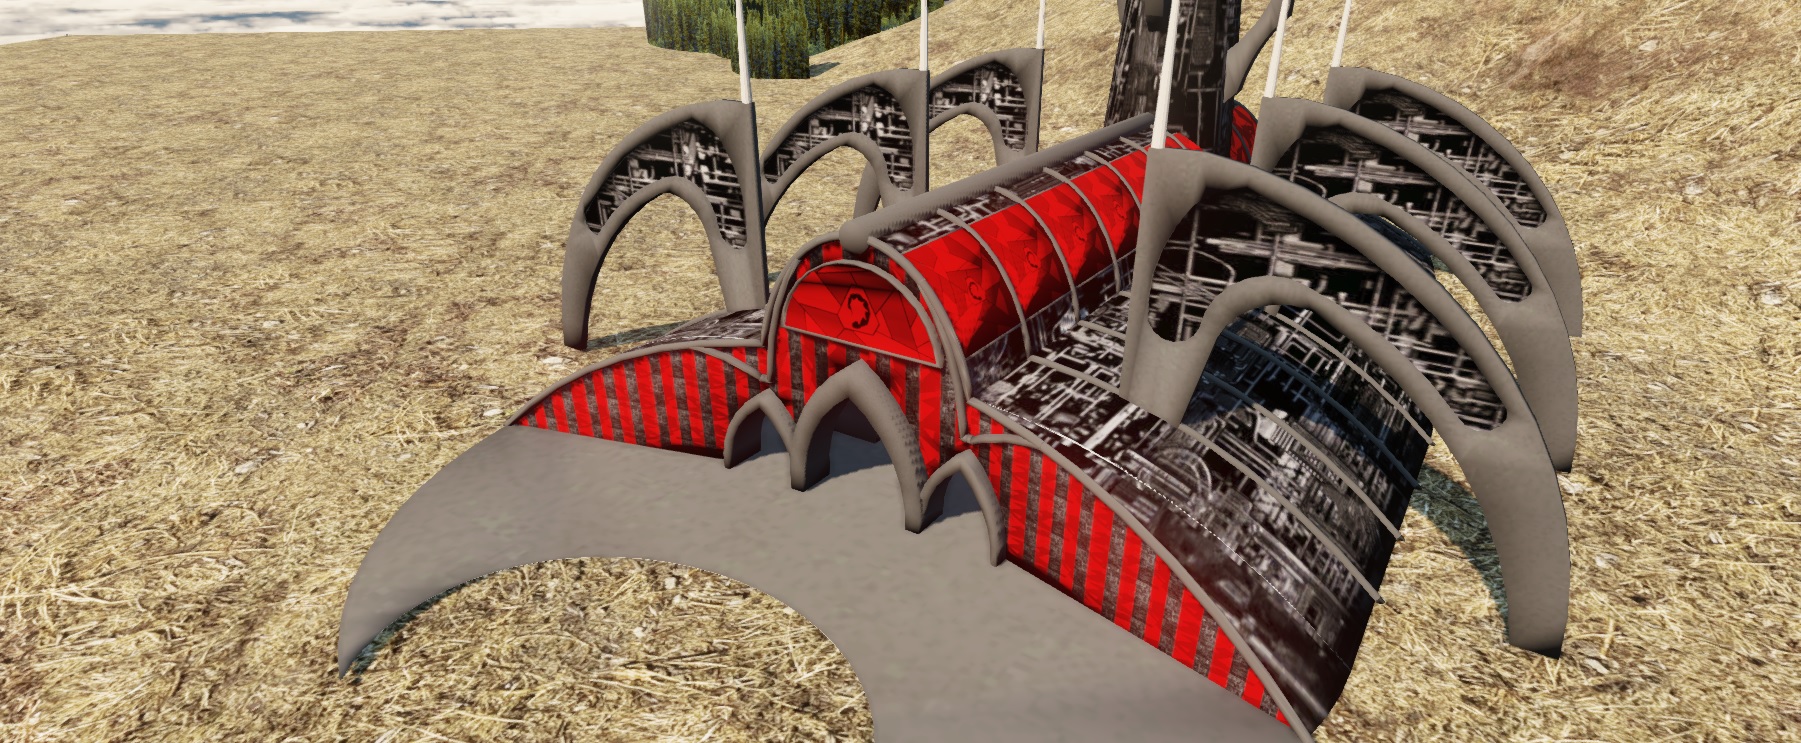
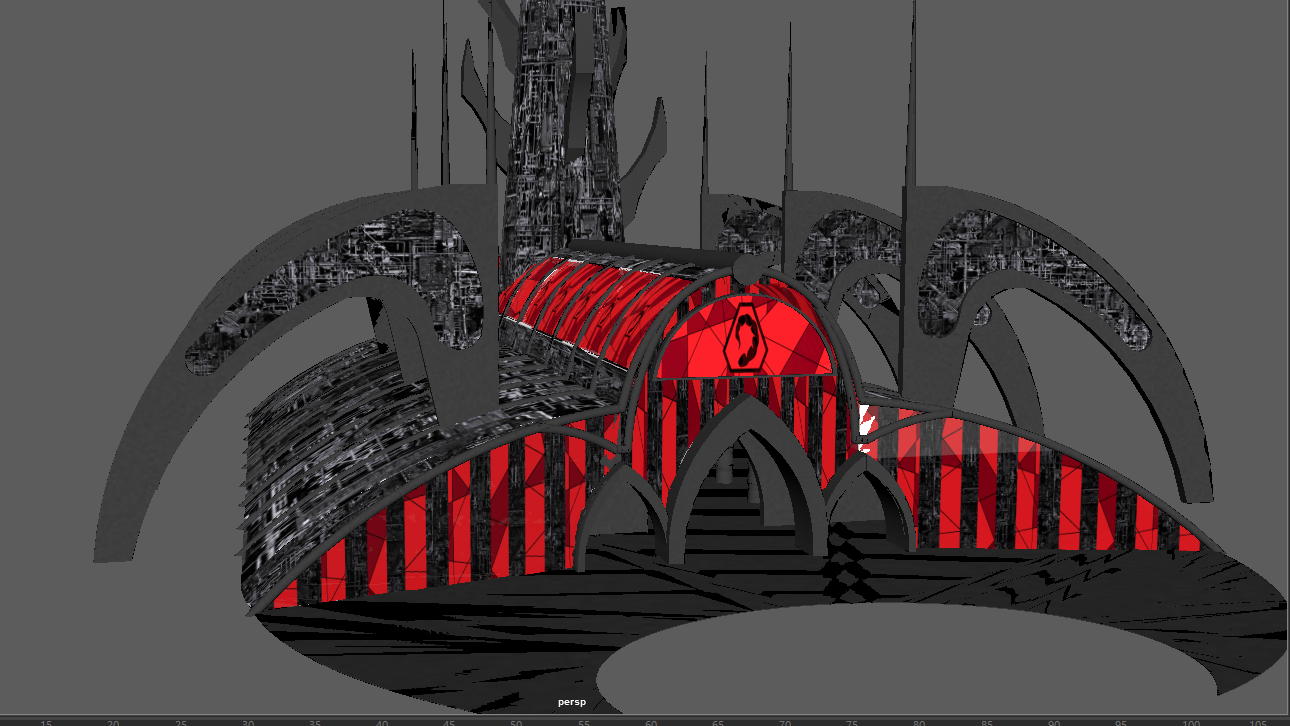
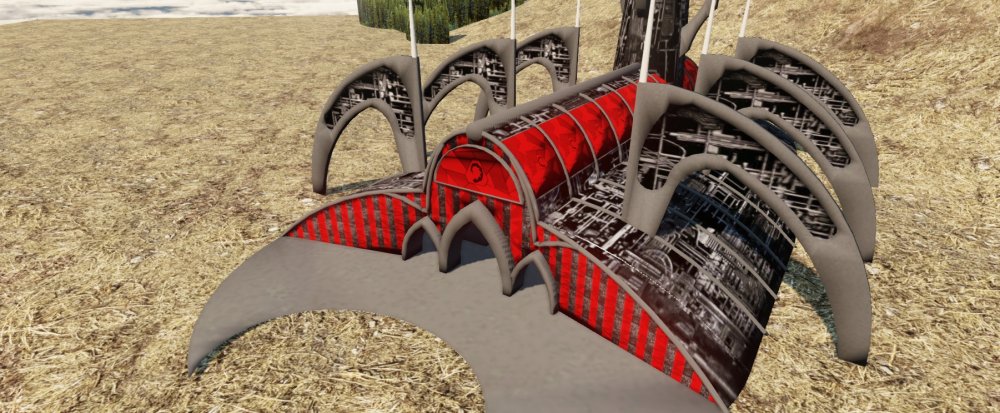
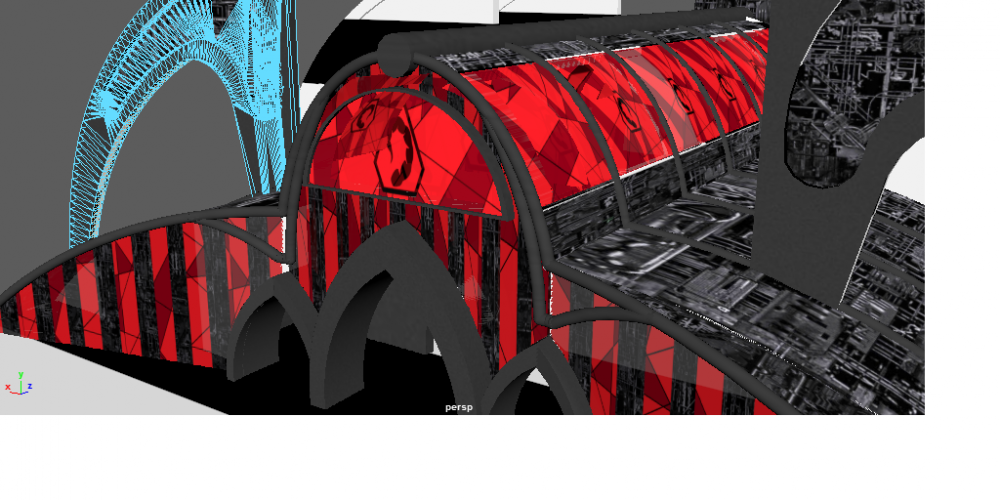
another 2 maya shots but once again the details. and I am applying the textures (png) directly onto the faces. and you can see what I did to the interior. no spike display yet.**** colors are spot on. could make the exterior ribs darker make the spikes steel and concrete floor


-
also. I've been finding that if I save and export my model zoomed in from different distances it renders differently and I have more verts for instance the one in this photo has 40k verts. but if I zoom out and save/export my model loses verts and loses detail. what should I do?
-
Snippet of what I've been doing. Done some more work to the Temple but right now I'm slapping on the textures just to see what it looks like.but if this turns out to be successful I'll keep everything as is. this is in maya btw but you can expect what it will look like. take a look at everything in this picture and try feeling it and tell me what you think. the window texture was done in ms paint I guess photoshop I'll have to tweak the transparency? in maya I can but it didn't seem to work on testing. neither did any of the textures because of the method I am doing which is applying the textures directly to numerous faces.
-
great idea. progress!
-
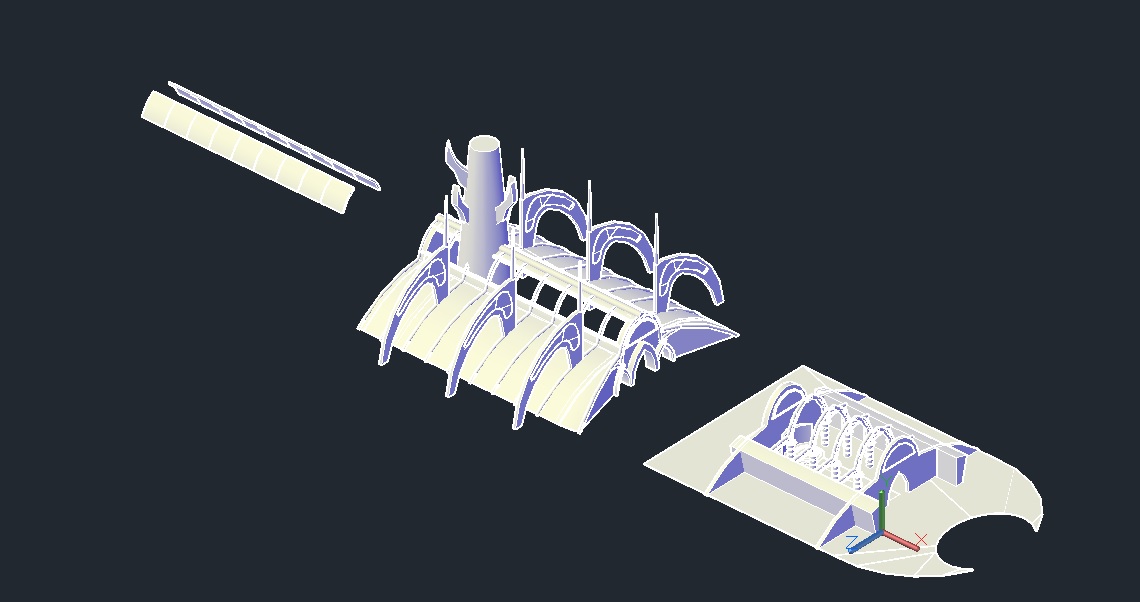
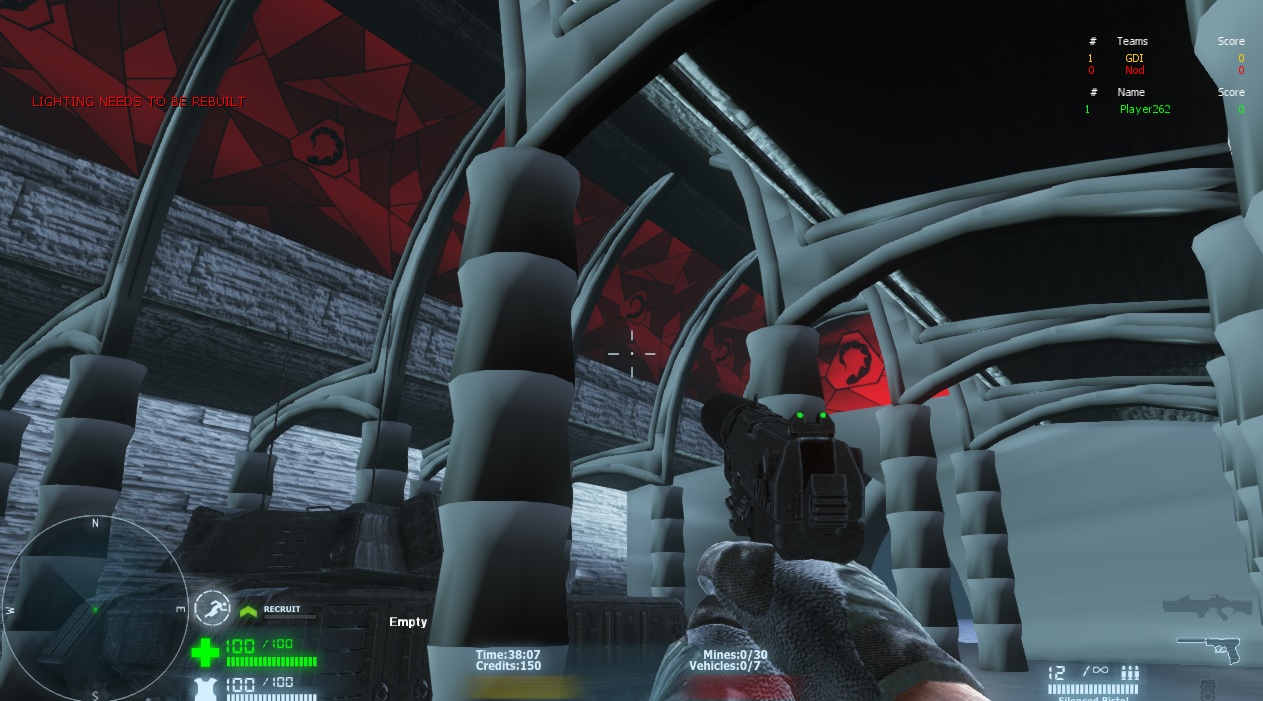
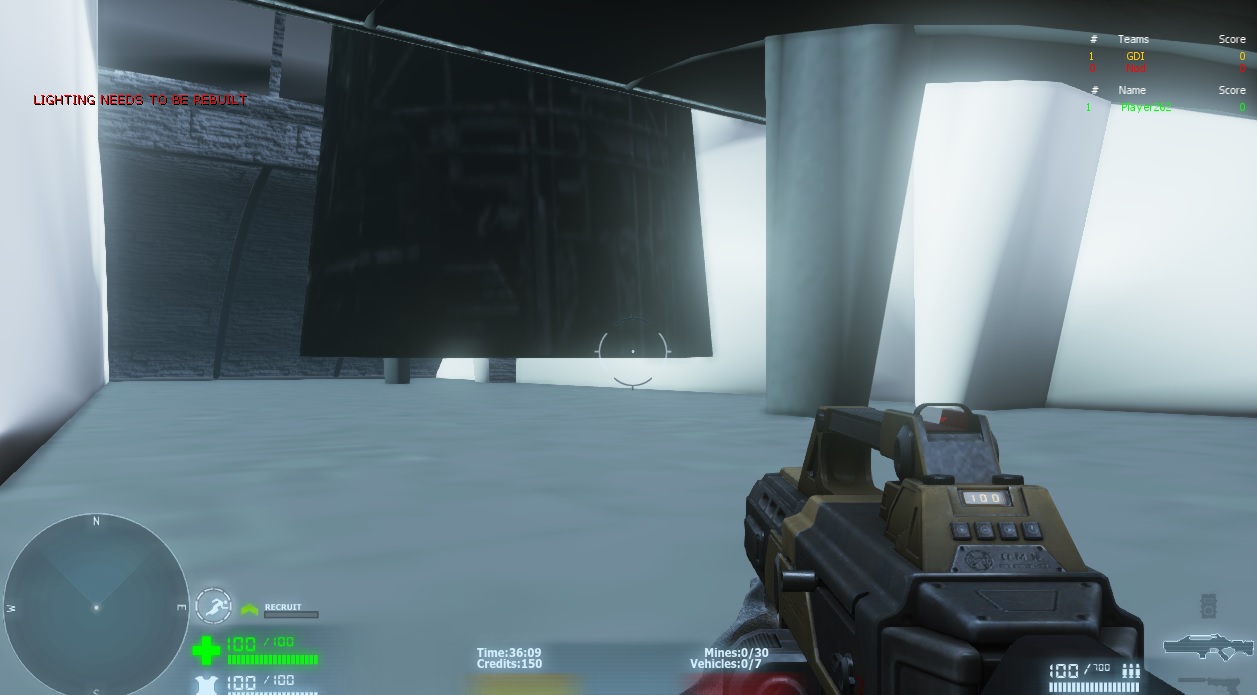
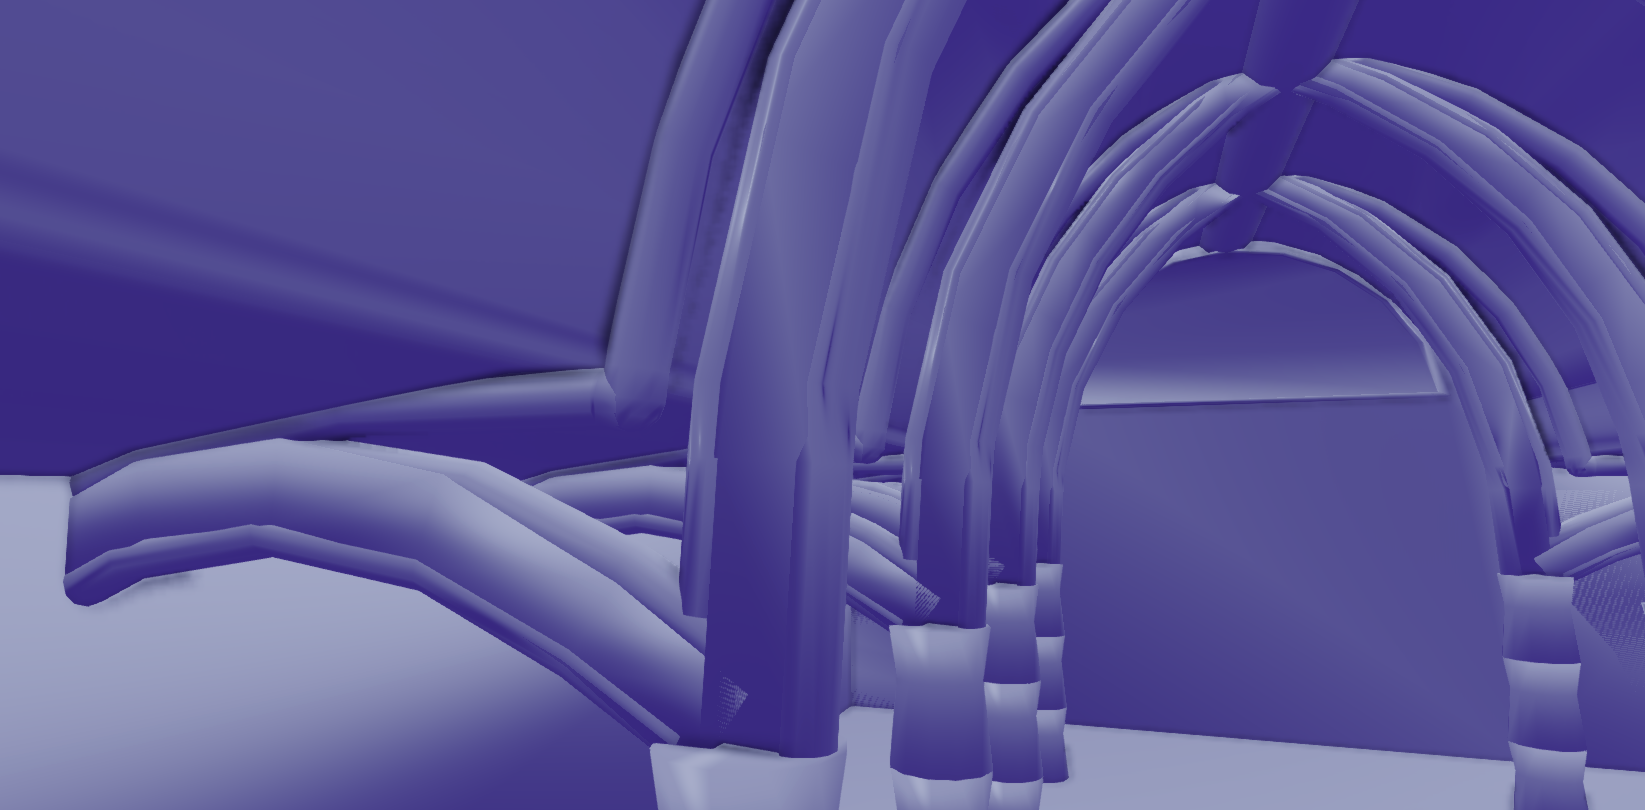
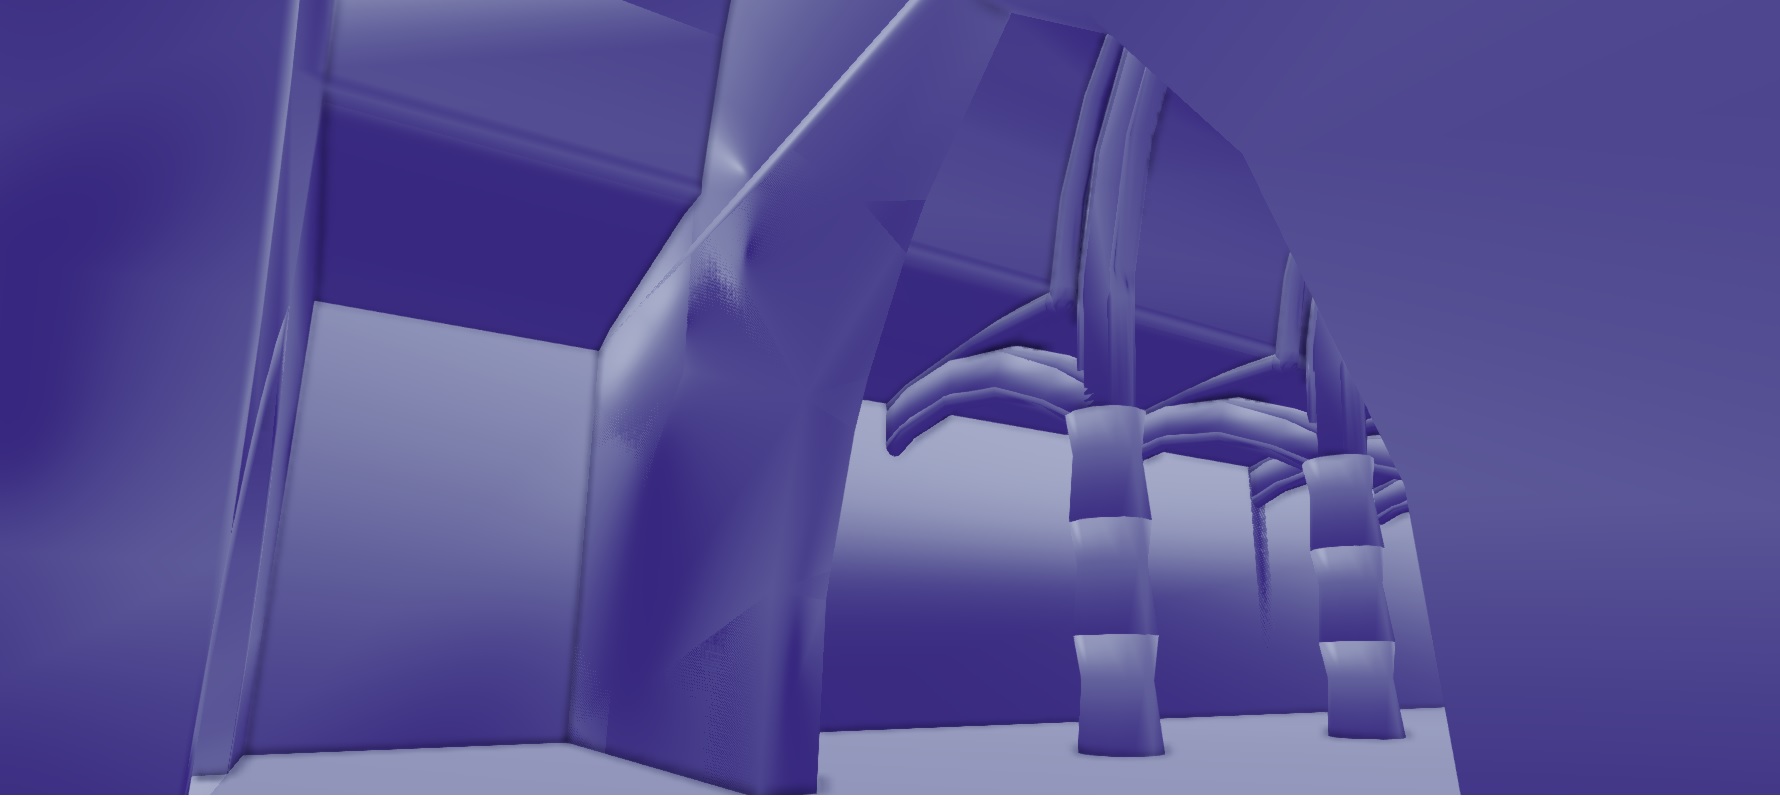
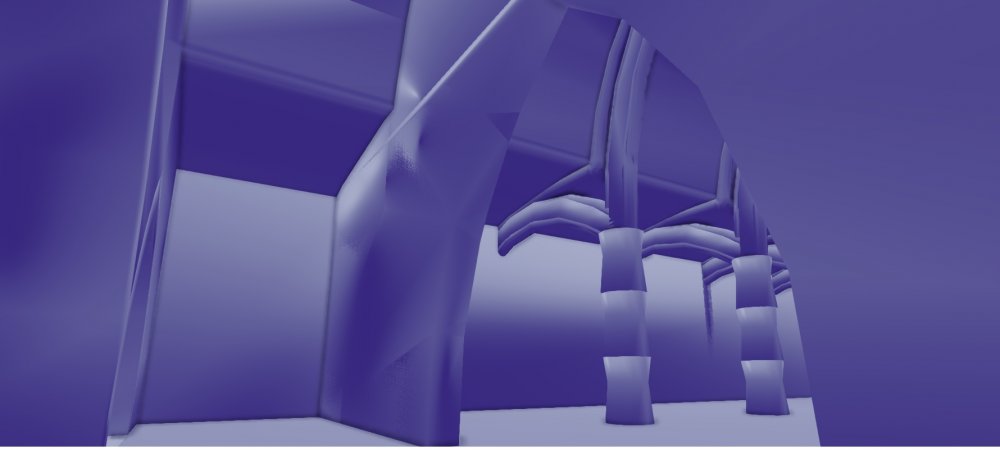
the first pic shows the interior ribs. basically the most upper is cylindrical with a sphere joint at the corner so they both connect "Properly"? the lower arcs is a rectangle sweeped along a curve with cylindrical pieces the same width at the top and bottom of the rectangle piece so as to appear round-like. the pillars are a tad big to accompany the size of the rectangular arcs with which the spike display will be set upon. Second pic shows the indoor cubby and the main doorway into the interior. as you can see I guess I forgot to place it but the 5th column would be in that first entrance wall and the 6th would be in the furthest wall just sticking out maybe halfway or so. Thoughts>?


-
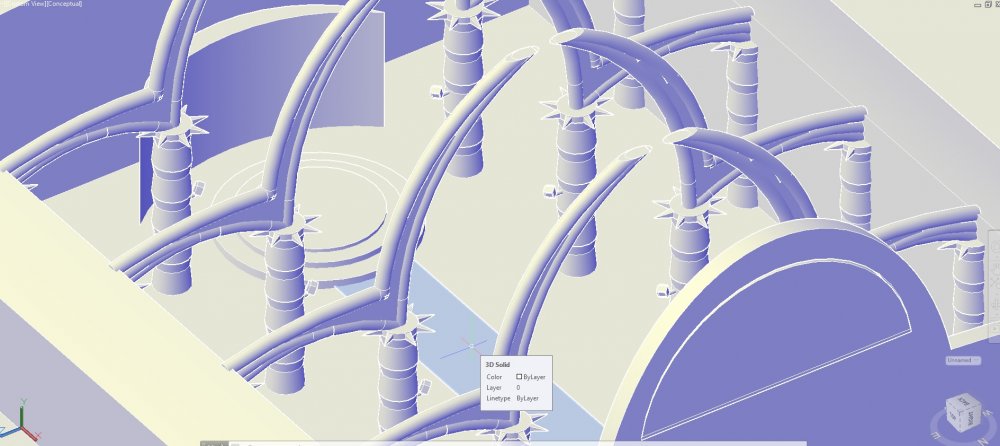
Here's a snippet of the interior. The way I did the interior ribcage is drew arcs equivalent to the inside arc outline and sweeped some radius with said arc. I kept the width/radius the same in the exterior ribcage parts. enlarged the middle beam, made the pillars by combining two cones together until a similar shape appeared to the pillars you see in the interior shot ( is it posted?) but due to space constraints I was able to fit only 3 compared to 5. The exterior doors I kept to the basic shape with no indents/details (bottom). On the other note Could someone aid in textures? I'm basically monkeying around here what do you think? Also there's 4 columns here because one columns fits in the main doorway and the second columns fits in the back wall so only four columns show due to the construction of the building's ribcage. Also no spike ring yet but I've tried using actual mesh to setup the pillars and got a horrific amount of verts. Fortunately(?) it's topping just over 14k verts and 27k tris but I haven't unioned some of the geometry which will eliminate triangles and vertices. Also it looks funky but it's pretty much just all floating geometry nothing's really connected and so thus looks all glitchy in my perspective. I'm assuming when I union some parts and form entire structures as compared to individual parts just leaning on one another and texture it, it should look quite nice. imo.
-
16322 verts, 31400 tris. another thing is I haven't unioned all the solids yet so each little piece isn't really "connected" instead it's just a bunch unwelded steel sitting on each other. and by the looks of it on UDK I'm starting to see what you mean but if I weld it all together it looks like I can eliminate some of the triangles and so on
-
that's pretty cool! it does look like a cargo ship but an extremely well done cargo ship. something like this reminds me of the first COD:MW like a black ops mission with the deadsix dressed for a night mission not renegade-like but something different perhaps a campaign mission?
-
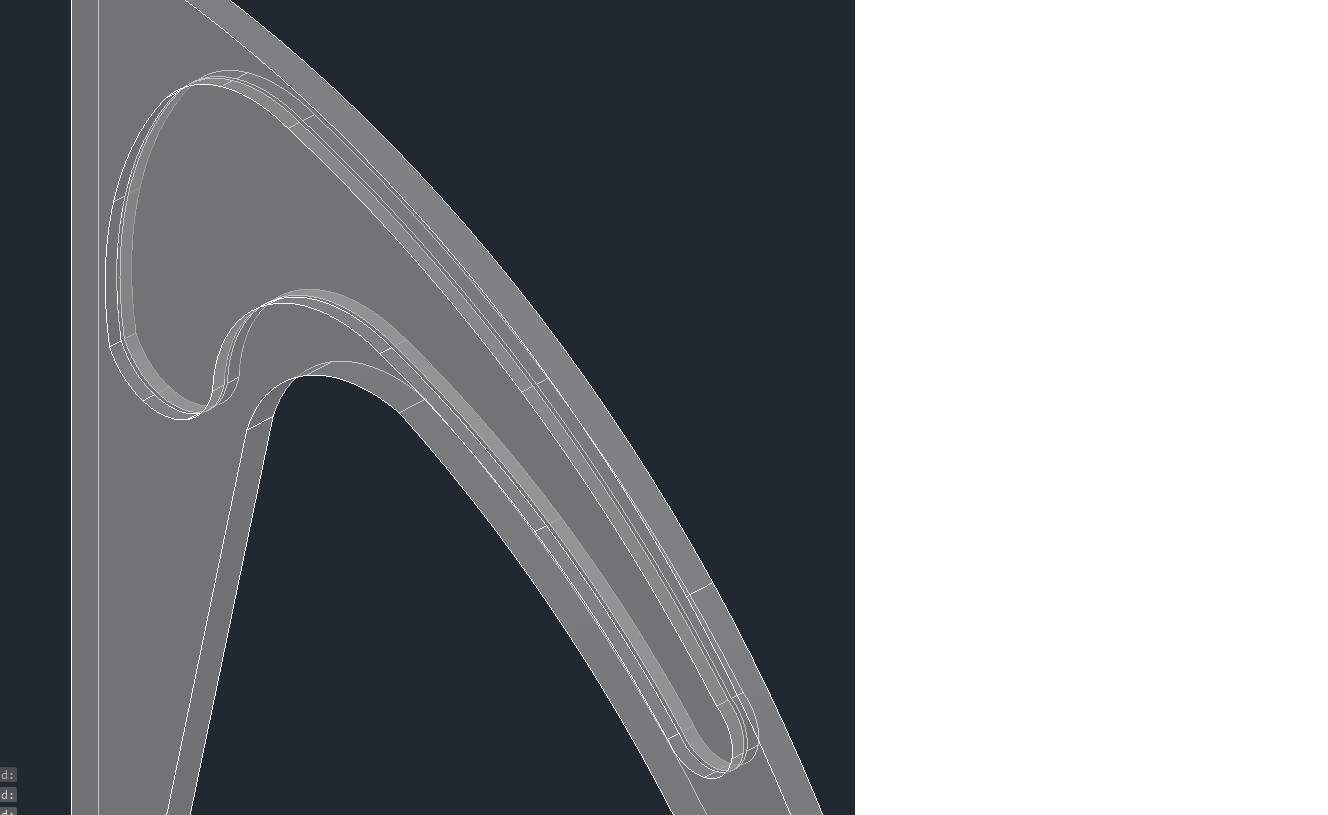
is this ok @Henk ? this seemed to be the part I struggled with most. Done by drawing a series of connecting arcs, laid out on a 3D solid so I could extrude it and remove it from the rest of the shape. then pushed said shape into archways and subtracted some distance. you can see how thin that little bit is maybe now I should make the arches a bit longer?

![[B]Veyron](https://totemarts.games/forums/uploads/monthly_2018_12/LiveLeak-dot-com-ezgif-5-9566bee928_1533941583.thumb.gif.4f2338763183cd7af62475a27c1b671c.gif)